Mastering Roof Flashing Installation: A Step-by-Step Guide

Unlock the Secrets to Proper Roof Flashing Installation!
Embark on a journey to master the art of roof flashing installation with our comprehensive guide. From expert tips to essential techniques, we’ll equip you with the knowledge and skills needed to ensure a watertight seal and protect your home from leaks. Whether you’re a seasoned DIY enthusiast or a first-time homeowner, this guide will empower you to tackle roof flashing installation with confidence and precision.
Understanding Roof Flashing Installation
Roof flashing is a critical component of any roofing system, providing a watertight seal around roof penetrations, such as chimneys, vents, and skylights, as well as along roof transitions and valleys. Proper installation of roof flashing is essential for preventing water intrusion and protecting your home from leaks and water damage.
Essential Steps for Roof Flashing Installation
1. Assess Roof Penetrations: Begin by identifying all roof penetrations and areas where flashing is required, including chimneys, vents, skylights, and roof transitions.
2. Choose the Right Flashing Material: Select the appropriate flashing material based on your roof’s slope, climate, and the type of roofing material being used.
3. Measure and Cut Flashing: Measure and cut the flashing to the appropriate size, ensuring a proper fit around roof penetrations and along roof transitions.
4. Install Base Flashing: Install base flashing around roof penetrations and along roof transitions, ensuring a snug fit and proper overlap with adjacent roofing materials.
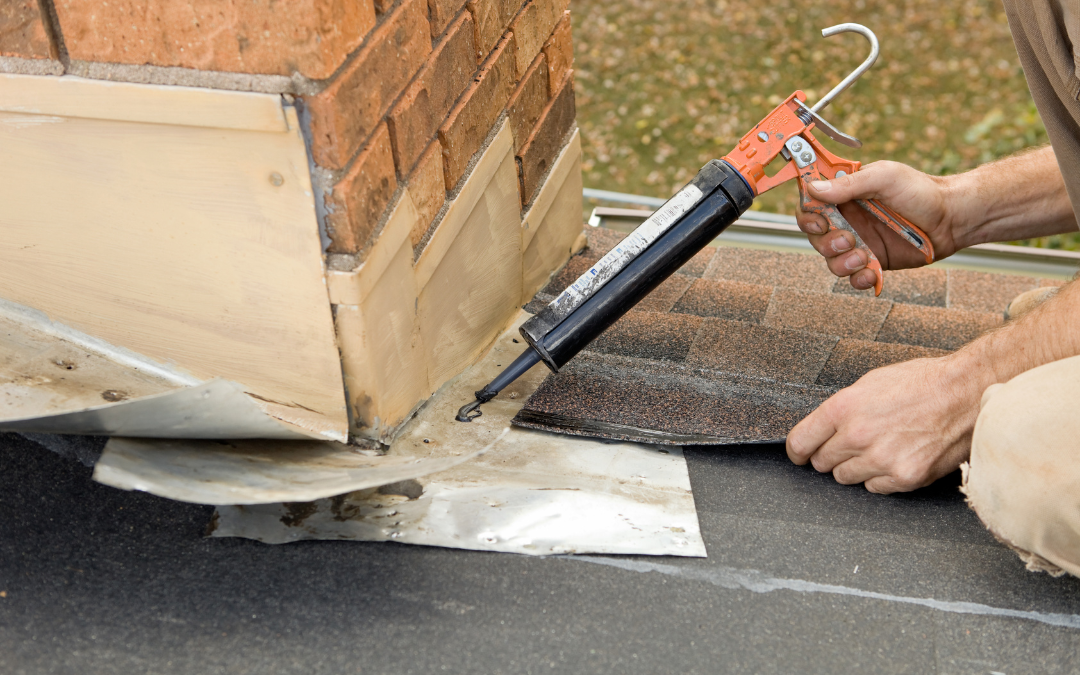
5. Seal Joints and Fasteners: Seal joints and fasteners with roofing cement or sealant to prevent water intrusion and ensure a watertight seal.
6. Install Counter Flashing: Install counter flashing over the base flashing to provide additional protection against water intrusion, securing it with fasteners and sealing joints as needed.
7. Inspect and Maintain: Periodically inspect roof flashing for signs of damage or deterioration, and make any necessary repairs or replacements to maintain a watertight seal.
Expert Tips for Roof Flashing Installation
Use High-Quality Materials
Invest in high-quality flashing materials that are durable and corrosion-resistant for long-lasting protection.
Properly Seal Joints:
Take the time to properly seal joints and fasteners with roofing cement or sealant to prevent water intrusion.
Pay Attention to Detail:
Ensure flashing is installed snugly and securely around roof penetrations and transitions to provide a watertight seal.
Consider Professional Assistance:
If you’re unsure of your abilities or if the roof flashing installation is complex, consider hiring a professional contractor for assistance.
The Benefits of Proper Roof Flashing Installation
Prevents Water Intrusion:
Properly installed roof flashing prevents water from penetrating the roof system, protecting your home from leaks and water damage.
Extends Roof Lifespan:
By preventing water intrusion, roof flashing helps extend the lifespan of your roof and reduces the need for costly repairs.
Maintains Home Value:
A properly installed roof with adequate flashing contributes to the overall value and curb appeal of your home.
Mastering roof flashing installation is essential for protecting your home from leaks and water damage. By following our comprehensive guide and incorporating expert tips and techniques, you can tackle roof flashing installation with confidence and achieve professional results.
Ready to safeguard your home with proper roof flashing installation? Contact Twin Peaks Roofing & Construction today for expert installation services and guidance. Trust our team to deliver superior craftsmanship and exceptional customer service. Call us at (330) 608-6966 or (330) 906-0295 or visit https://twinpeaksroofs.com/our-services/ to learn more!
This comprehensive guide empowers homeowners to make informed decisions about roof flashing installation, ensuring a watertight seal and long-lasting protection for their homes.
